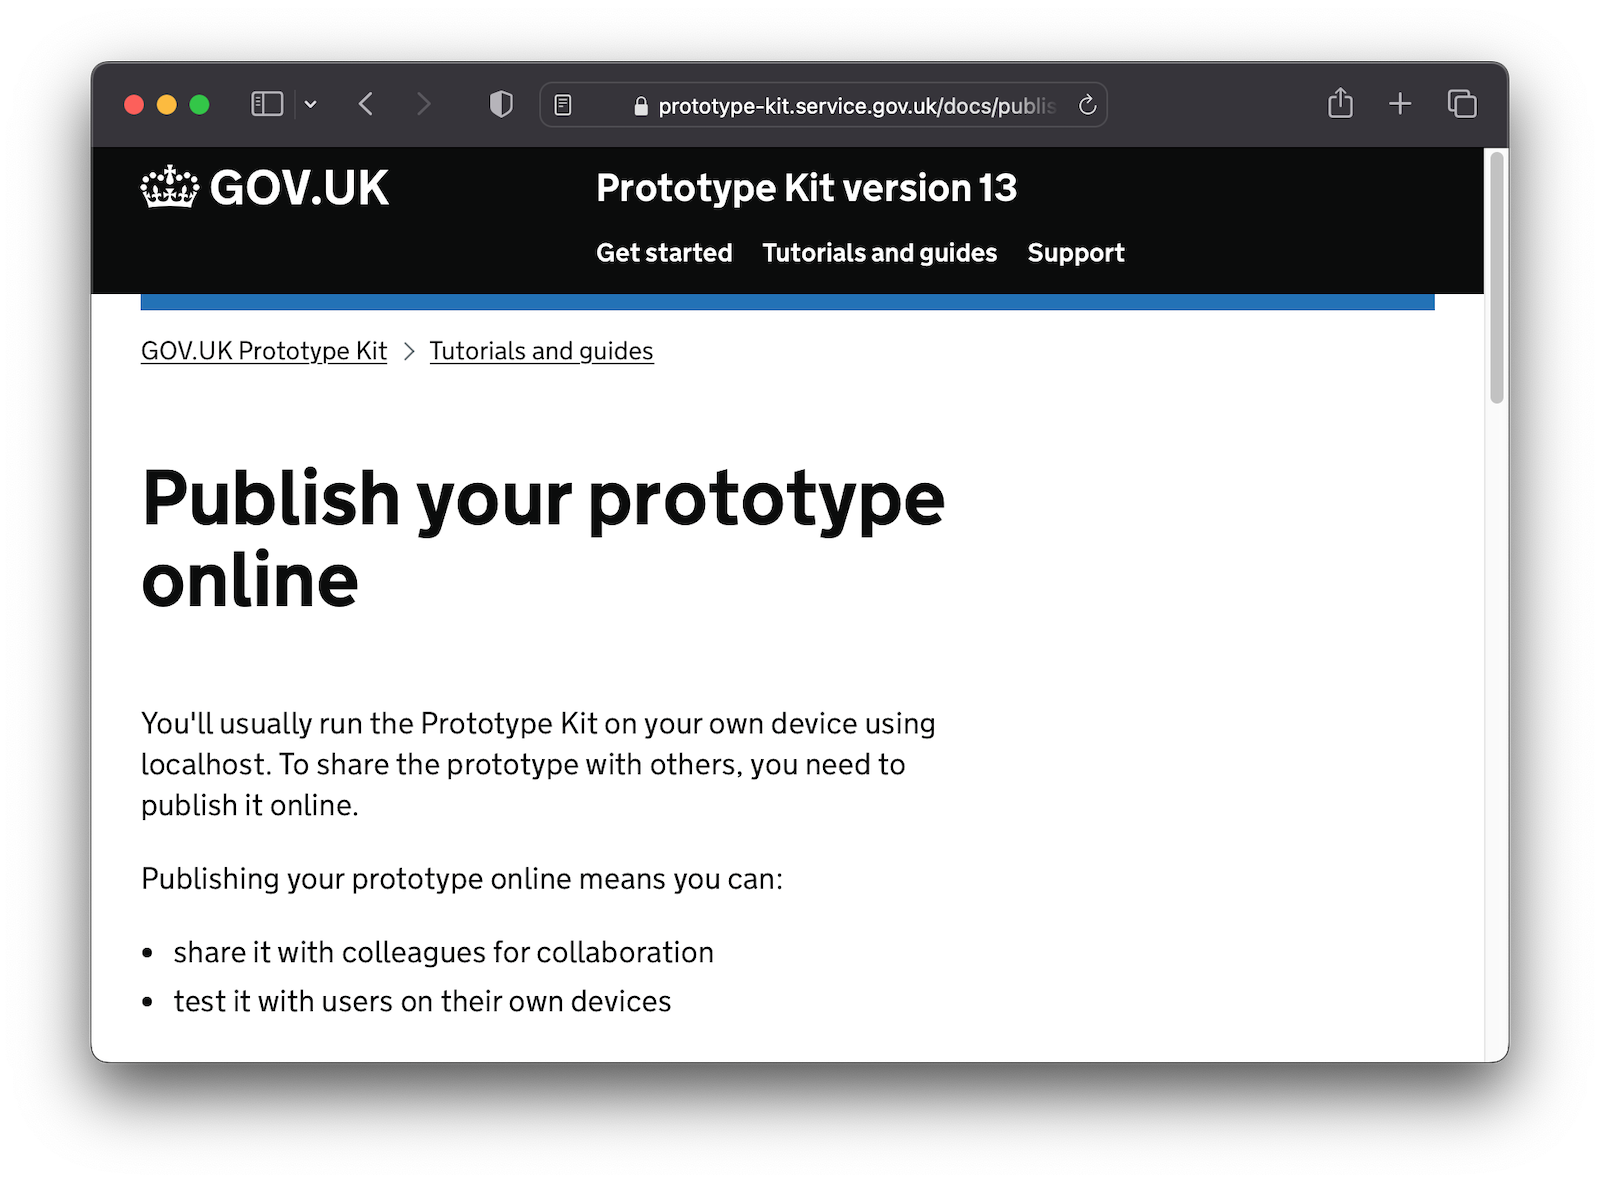
Version 13 of the kit has guidance on how to publish your prototype online - this page mentions:
Some hosting services automatically publish every time you push to GitHub. For example:
- Railway (free plan)
- Render (timed demo then payment required)
- Heroku (requires payment)
I used to push to Heroku, then they stopped the free service. I tried Railway which works fine, but then my free demo ran out. So now I’m on Render – it’s a bit tricker to set up than the other two, but not by a lot.
I just got my first deploy to work so here’s the setup.
My local system:
- OSX 12.6.9
- Node 18.13.0
- GOV.UK Prototype Kit v13.13.5
Try these steps
- Connect your github account to render
- Click on “web service” (note: NOT on “static site” - I did that first as am used to pushing Jekyll sites)
- In the settings, you need to add
- Build Command: ‘npm install’
- Start Command: ‘npm start’
- Add environment variable “NODE_ENV” = ‘production’
- Add environment variable “NODE_VERSION” = ‘18.xx.xx’ (any compatible version)
- Add environment variable “PASSWORD” = ‘yourpassword’
- Click ‘save’ and the deploy starts
I think that’s it. Once the build starts, a log is written. You can view these logs from the “Events” menu on the left. For example, for the event “Deploy live for c80a07b: fixed validation form” click on the word “deploy” to see the log (these can be very helpful when things don’t work as expected).
ChatGPT to the rescue
Oddly I find ChatGPT really good at debugging this stuff. The LLM is familiar with the kit (and can explain how to add custom JavaScript etc.) and is also familiar with render.com and can point you at the correct support pages for further details.
One very useful thing it can do is read your deploy log (copy and paste the whole log into the prompt box) and help you figure out what’s not working. I wouldn’t say it’s your friend, and it will have us all out of a job soon, but this, it does quite well:-)

 Loss of nationality